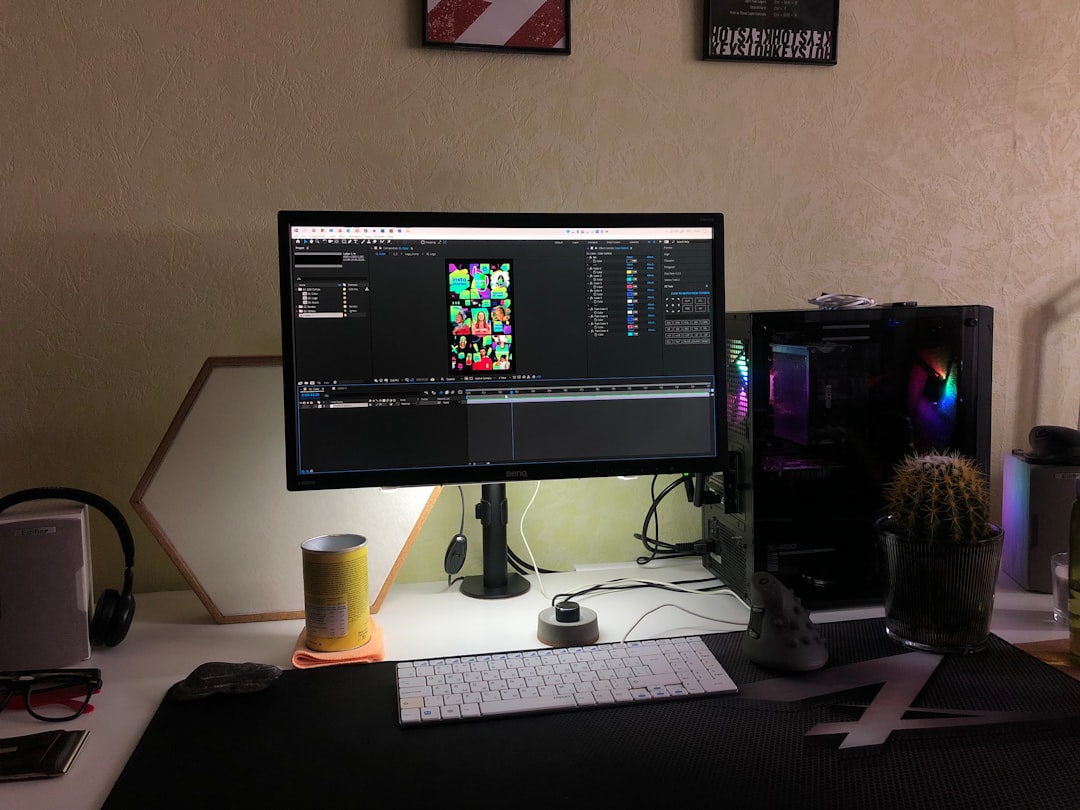
If you’re working with Adobe After Effects, chances are you’ve come across .AEP files. These are project files that contain all of your compositions, assets, and keyframes. However, AEP files aren’t directly usable by most media players or editors. That raises the question: How do you export an AEP file? Whether you’re looking to share your project, upload it to social media, or integrate it into a larger video, exporting is a crucial step. Let’s dive into the process and explore your options.
What is an AEP File Exactly?
An AEP file is a proprietary project file format used by Adobe After Effects. Think of it as a master working file—it stores references to media files, applied effects, compositions, timelines, scripts, and settings. However, it’s not a video or image file, and you can’t play it outside of After Effects.

Because AEP files need to be rendered (or exported) to become usable outside of After Effects, exporting is one of the final steps in your post-production workflow.
Steps to Export an AEP File
Exporting an AEP file in Adobe After Effects involves rendering your composition into a video format such as MP4 or MOV. Here’s how to do it:
-
Open your AEP File:
Launch After Effects and open your AEP project. Make sure everything is finalized and saved. -
Select the Composition:
Choose the specific composition you want to export. Navigate to it in the ‘Project’ panel and double-click to open it in the timeline. -
Send to Render Queue:
From the top menu, click Composition → Add to Render Queue. -
Choose Your Output Module:
In the ‘Render Queue’ panel, click the text next to ‘Output Module’. This opens the export settings. You can select video format, codec, and other details depending on your needs. -
Set the Output Destination:
Click the text next to ‘Output To’ and choose where you’d like the final video to be saved. -
Click Render:
Hit the ‘Render’ button and After Effects will begin rendering your video. Once it’s done, your AEP is now a usable video file!
Exporting via Adobe Media Encoder
If you’re looking for more options—especially if you need to export in H.264 (for MP4 output)—you should use Adobe Media Encoder. This method provides more flexibility and efficiency.
To do this:
- Select your composition.
- Go to File → Export → Add to Adobe Media Encoder Queue.
- Media Encoder will open, and your comp will appear in the queue.
- Select the desired format (usually H.264) and adjust settings as needed.
- Click the green play button to start exporting.

This method is popular because it allows you to continue working in After Effects while rendering occurs in Media Encoder—saving valuable time in a professional workflow.
Tips for a Successful Export
Before exporting, here are a few tips to keep in mind:
- Pre-render complex elements: This ensures After Effects isn’t overloaded during final export.
- Organize your timeline: Avoid hidden layers or unused assets to speed up rendering.
- Use lossless settings only if needed: Formats like MOV with Animation codec give high quality but create large files. Use them for archiving, not sharing.
Alternatives: Export as Image Sequence or GIF
Aside from video formats, you can also export your AEP composition as:
- Image Sequence: Choose PNG or JPEG sequence under Output Module for animation workflows.
- Animated GIF: Export to a video format, then use Photoshop or another app to convert it to GIF.
Final Thoughts
While an AEP file is incredibly powerful within After Effects, it’s all about what you create from that file. By exporting it into the proper format, you bring your motion graphics to life on virtually any platform. Whether you’re publishing a video on YouTube, embedding it into a website, or collaborating with editors, the export process ensures your work is seen, appreciated, and shared.
With dozens of format options, scripting support, and integration with Adobe’s suite, After Effects offers professionals unparalleled flexibility. Mastering the export process unlocks the full potential of your creative workflow.